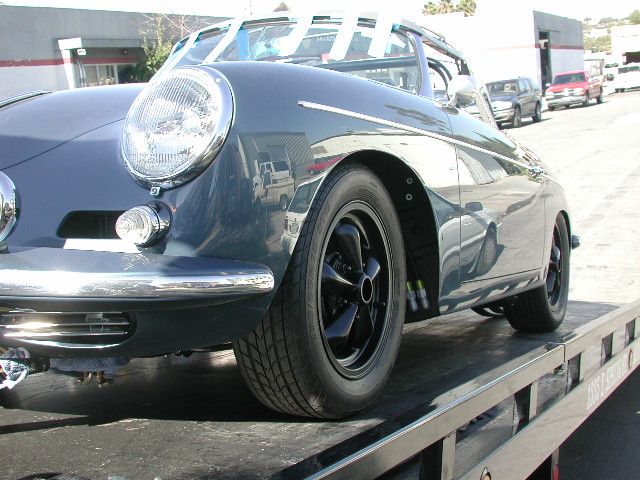
1960 ROADSTER
Owner: Keith
Hoffnagle
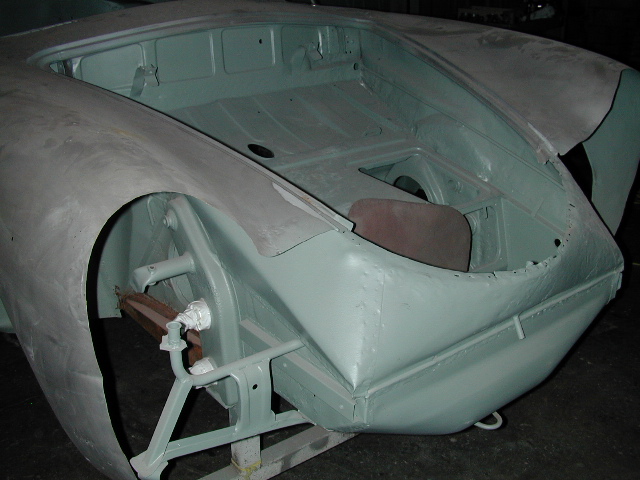
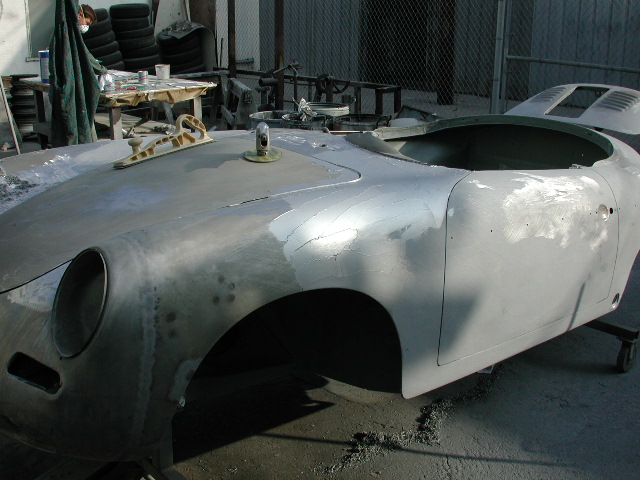
When Keith bought this car it was a restoration project that had never been finished. The floor and longitudinals were new and properly installed but the rockers and front clip were missing and the door bottoms needed to be replaced. Keith got the car at a good price and it was a good start for an "Outlaw" Roadster:
(click any image for a larger version)
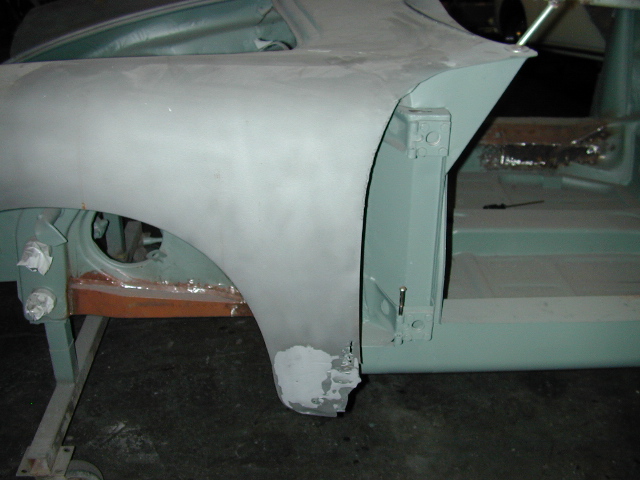
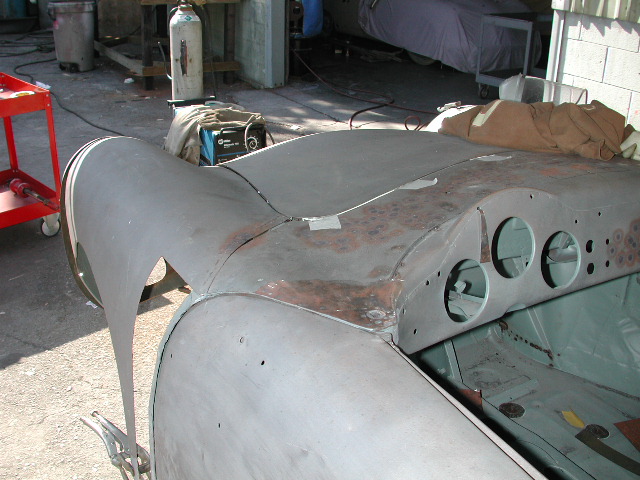
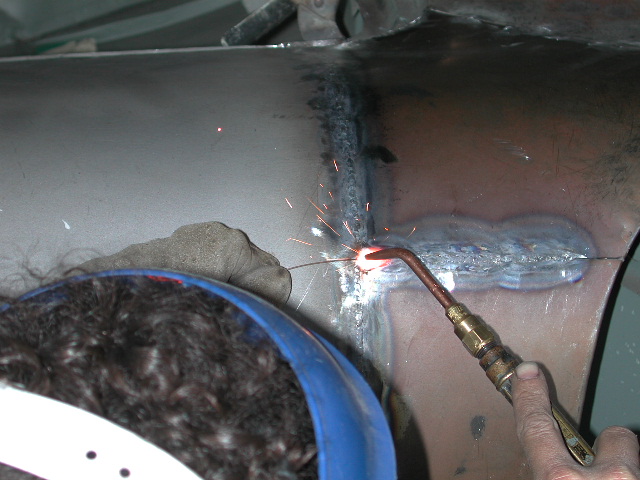
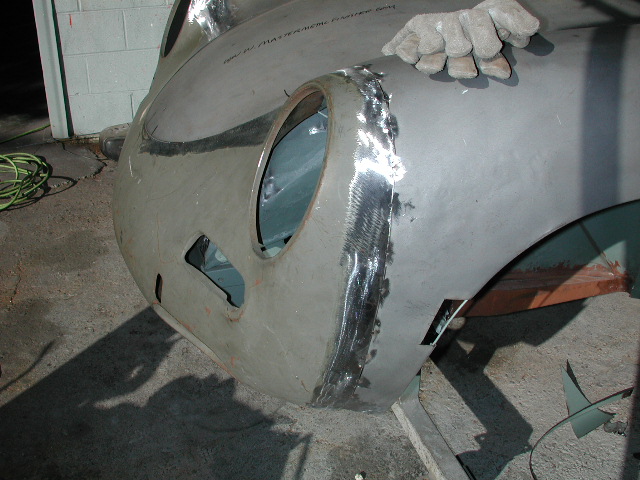
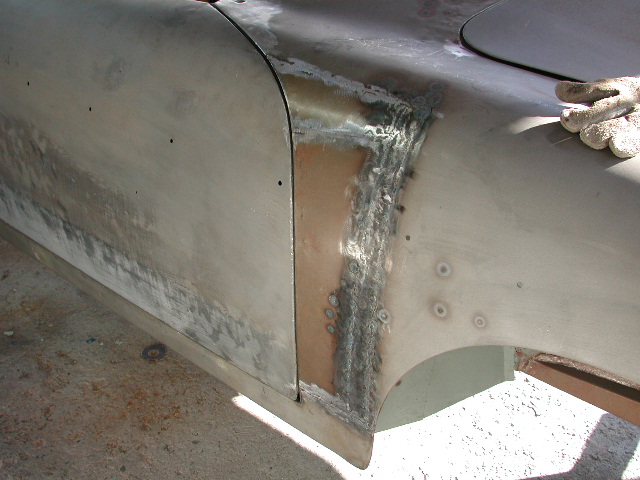
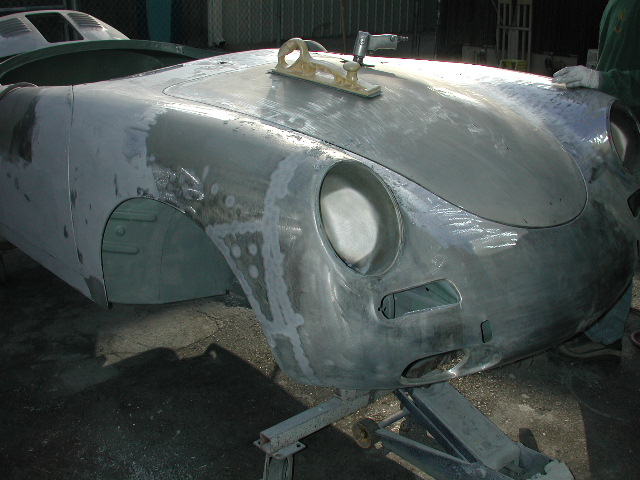
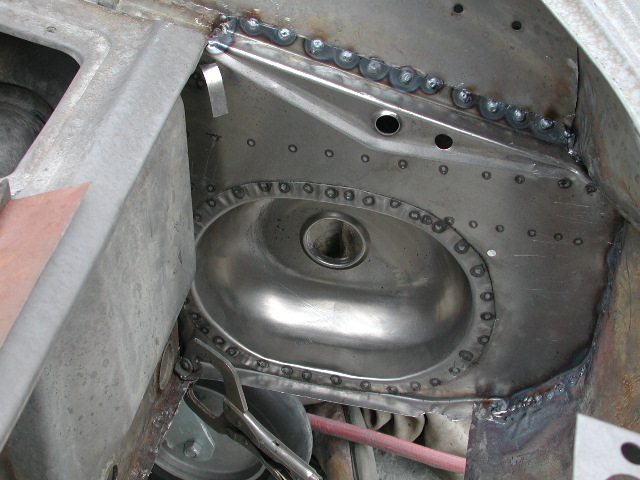
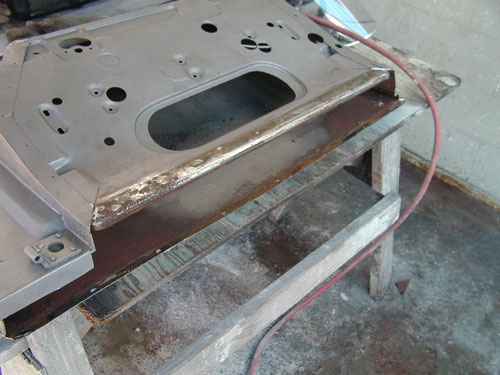
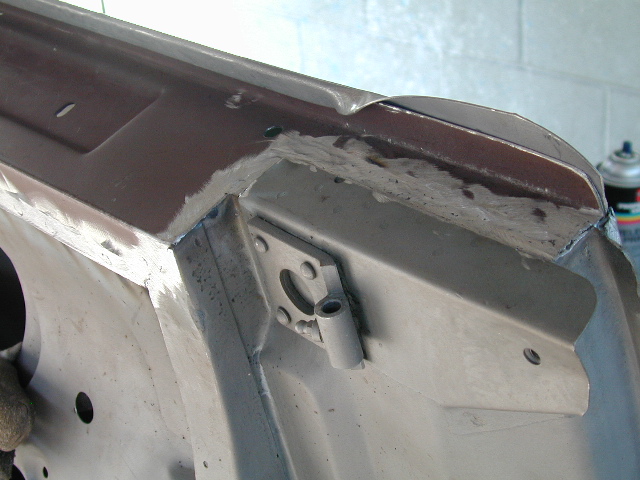
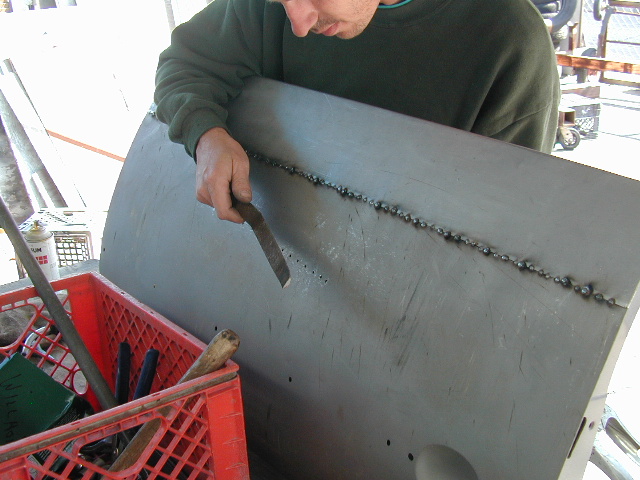
BODY REPAIRS
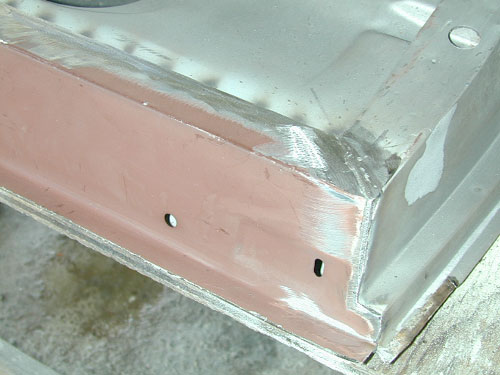
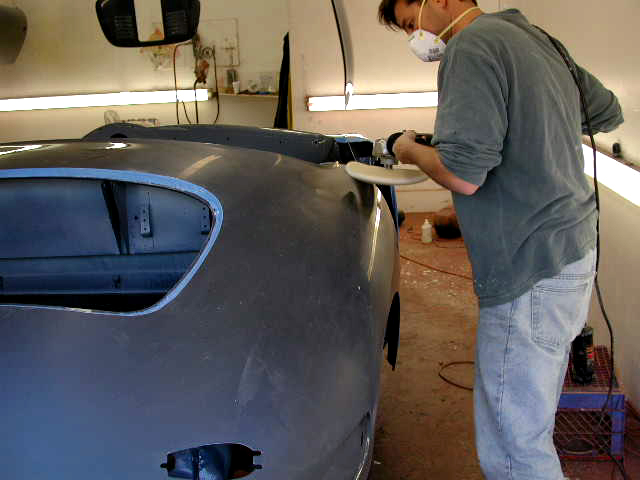
All body repairs and welding are done so that a minimum of filler is used. On the 356, all panels were originally fitted with lead filler on the gaps. There are certain problems associated with lead and the process is time consuming and therefore expensive (for an explanation of the use of lead vs. polyester filler click here). Polyester based fillers can be used in place of lead with good results and require much less time. We use a product called All-Metal.This filler consists of aluminum powder mixed with polyester resin and dries much harder, and is more stable, than the typical talc based body filler. An extremely clean surface is mandatory before application, and all welded areas must be spot blasted and cleaned with phosphoric acid and lacquer thinner before application.
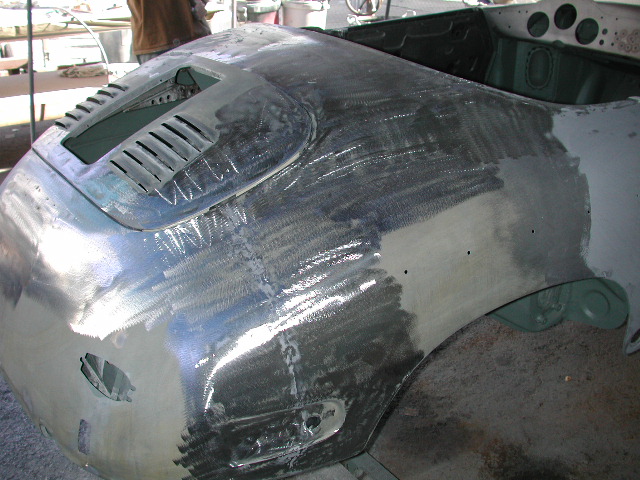
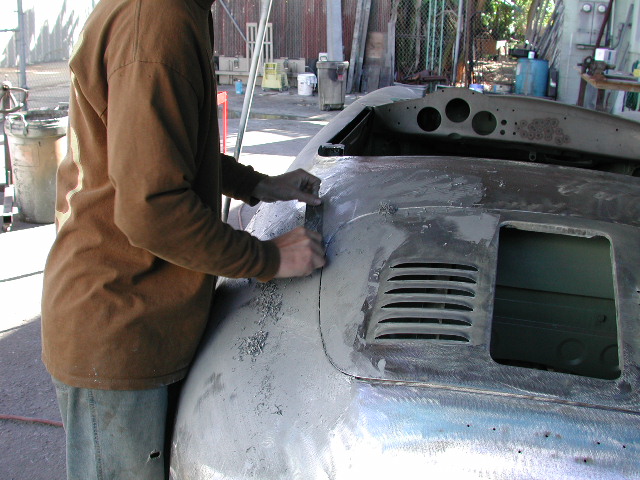
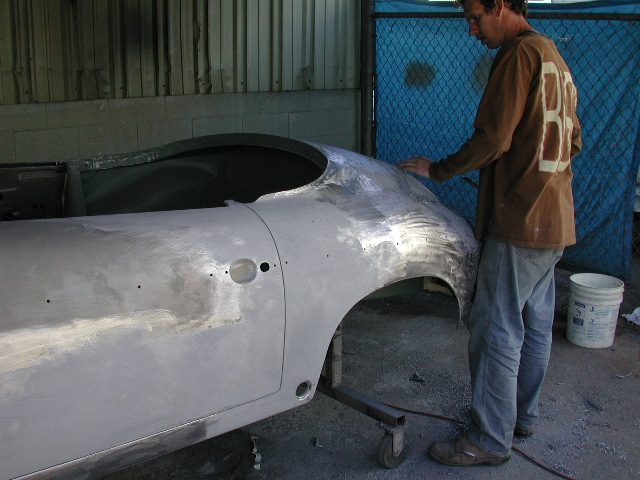
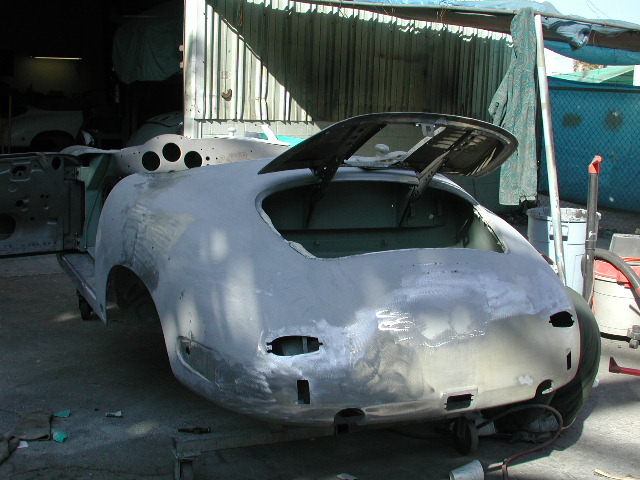
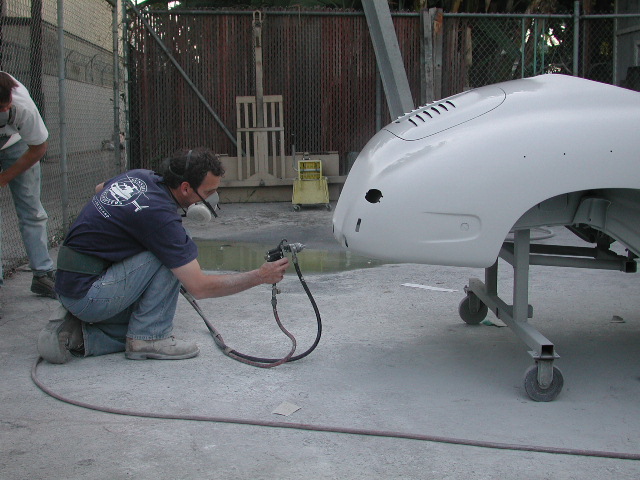
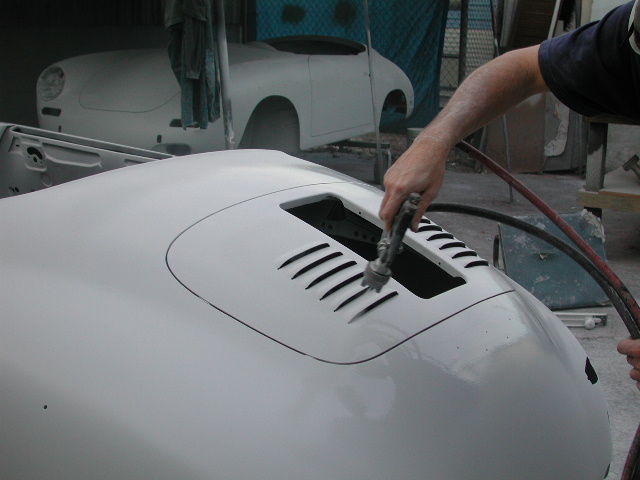
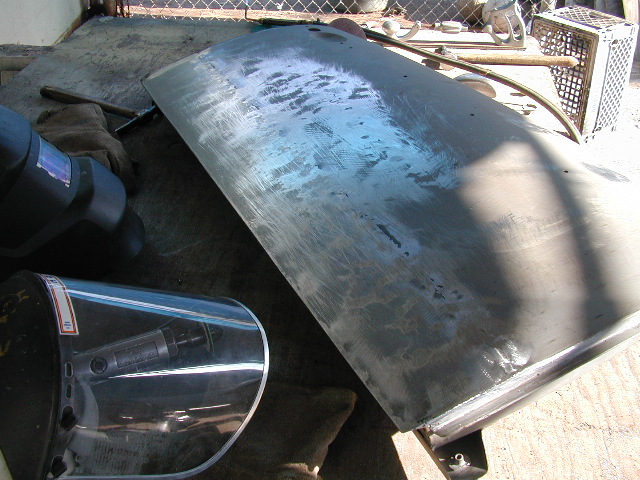
After using All Metal
filler to smooth out metal finished areas and fit gaps, the first coat of primer
surfacer is applied. After several days of drying, the primer is sprayed with a
guide coat and block sanded to assure a straight, ripple-free body. This process
is repeated several times which will be shown is subsequent photos.
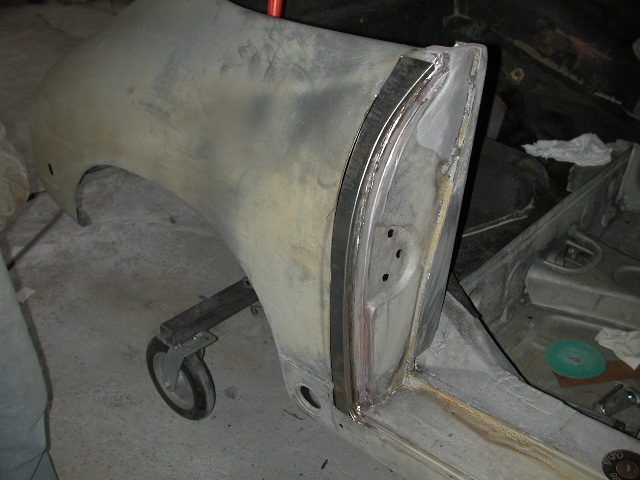
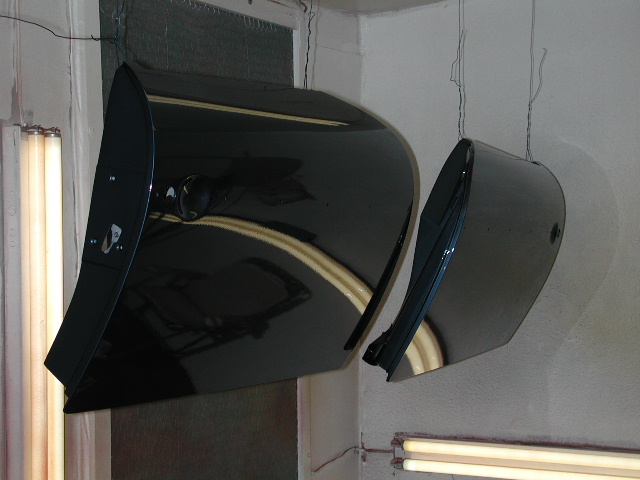
DOOR BOTTOM INSTALLATION

 ready for final metal
finishing and installation onto the body shell. This door was not badly rusted,
as you can see in the first picture, but rust trapped in the folded seam at the
bottom would eventually eat through the outer skin. A new lower skin is the only
sure remedy.
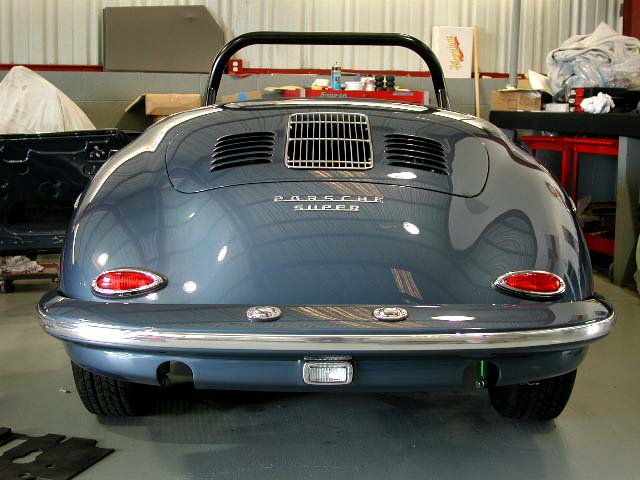
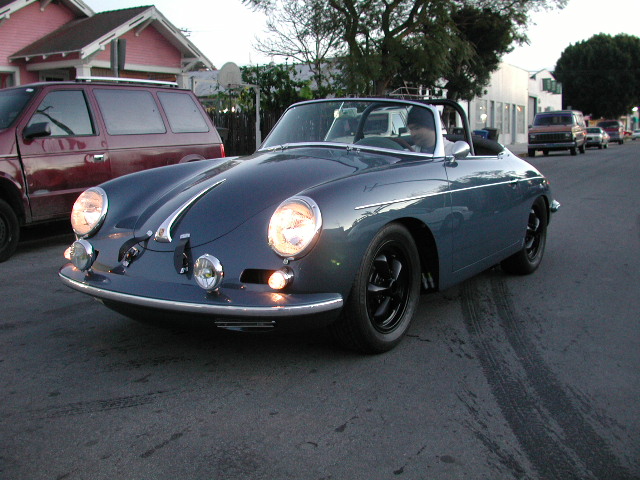
IN THE PAINT BOOTH WITH FINAL COLOR APPLIED
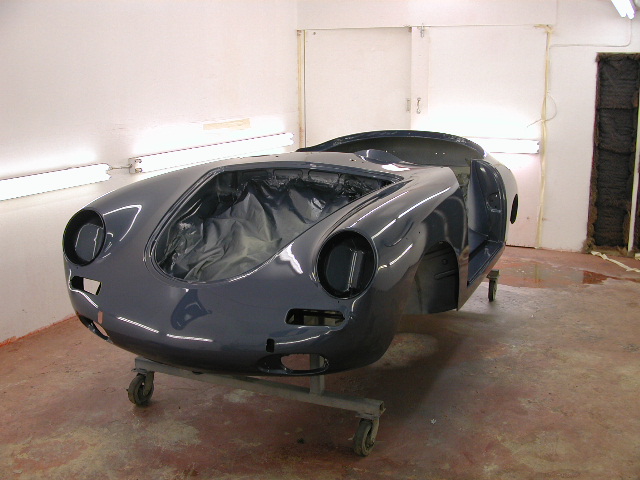

The color is Adria Blue Metallic, a
stock 1954-55 color.
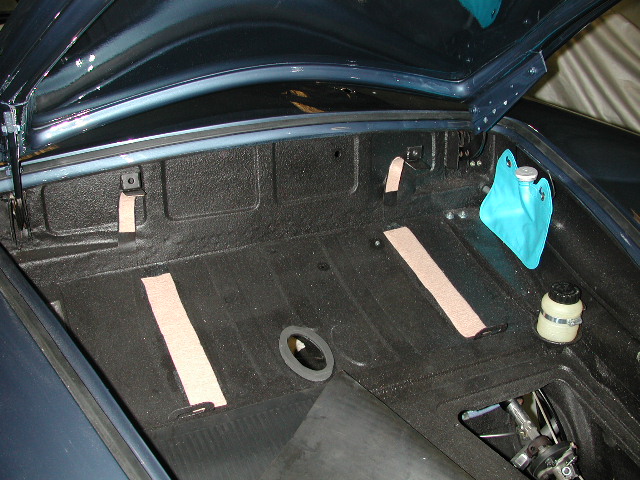
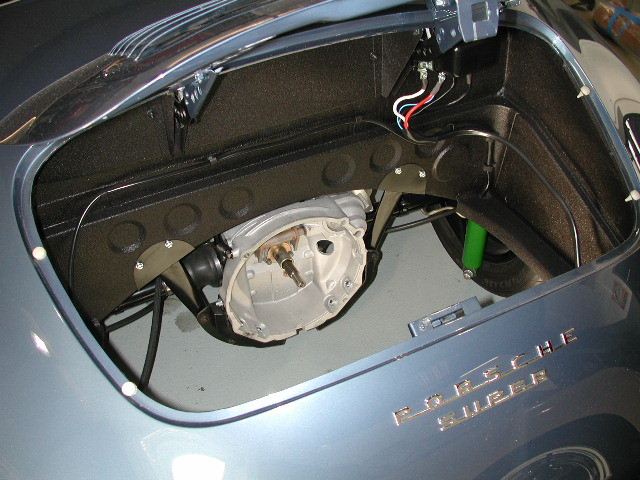
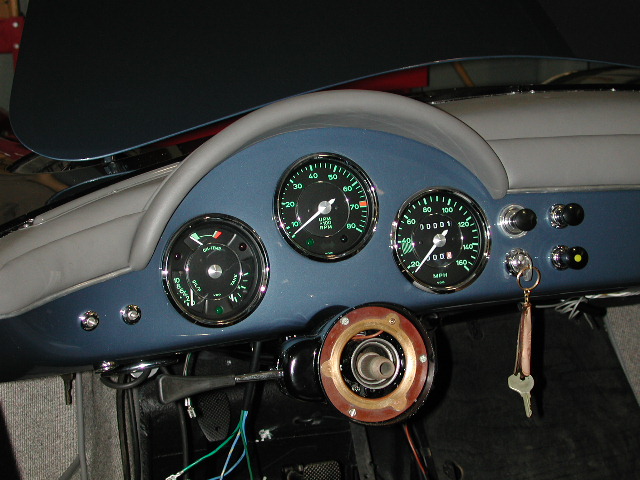
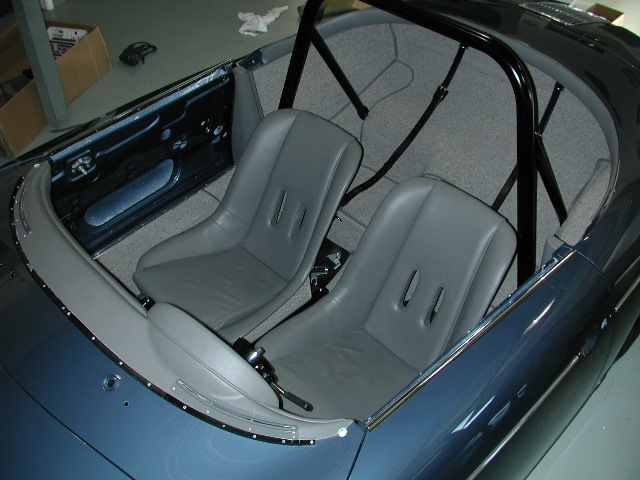
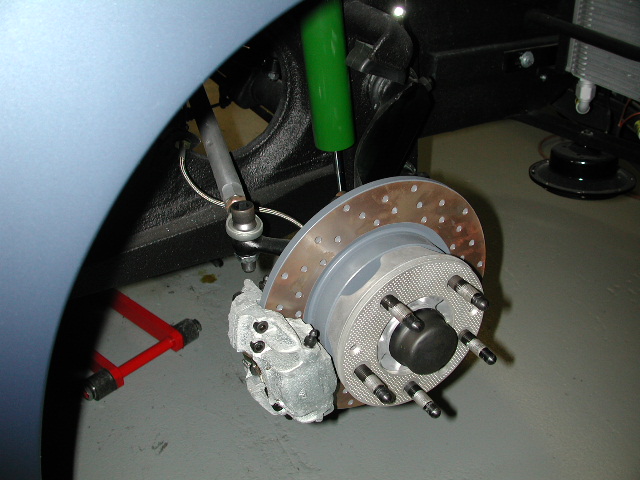
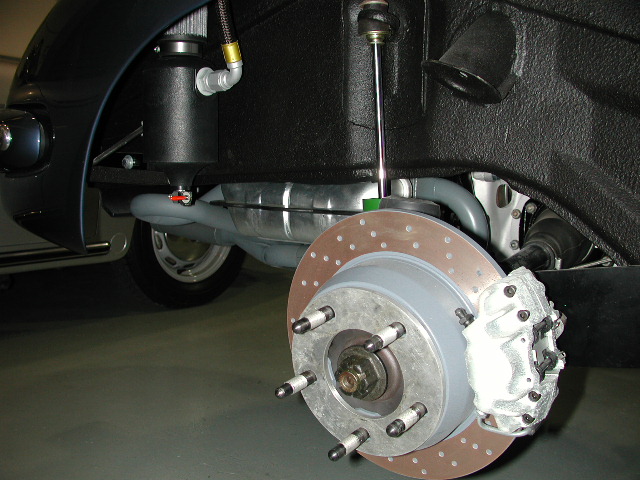
FINAL ASSEMBLY AFTER UNDERCOATING IS APPLIED
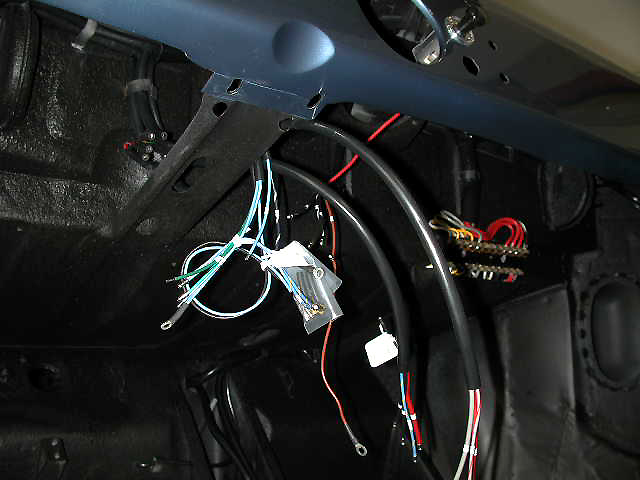
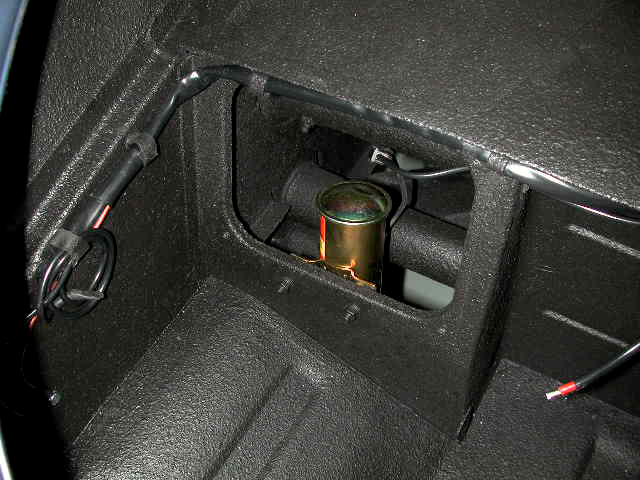

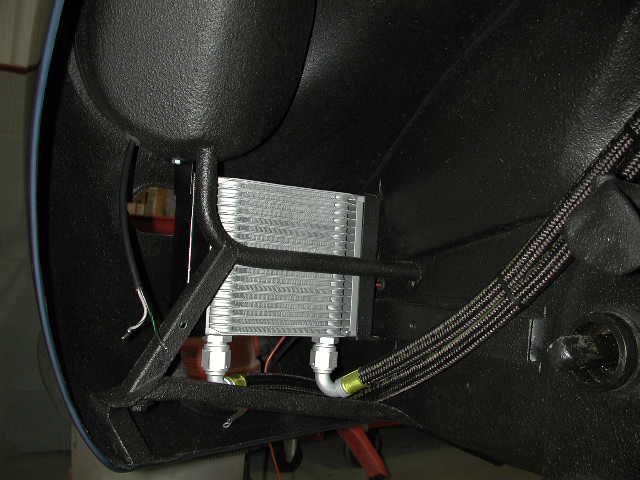
Above you can see the
installation of the new wiring harness, electic fuel pump,
and the dual front oil coolers.
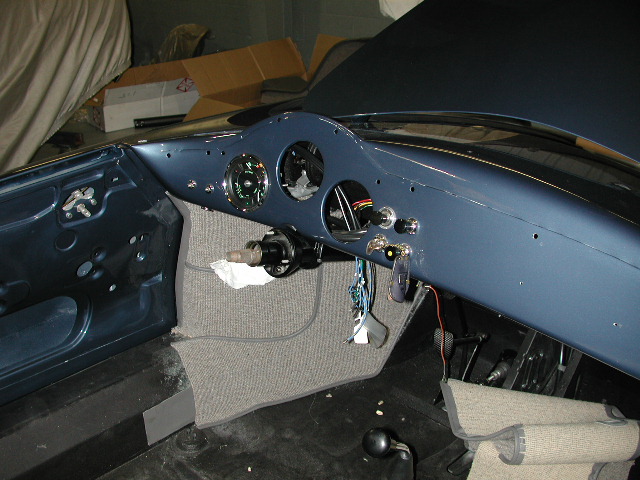
The interior will be done in Seagull Grey
leather with grey German square-weave carpet. The leather has been skived
(a process of shaving it thinner) so that it can be used for binding the carpet.
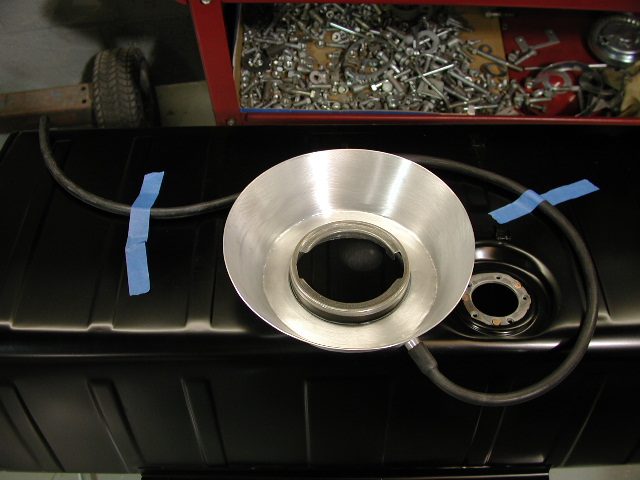
The dual circuit brake system uses a stock 356C resevoir modified to feed both
circuits. The stock size fuel tank features a catch tray as used on the larger
GT tanks.(for those quick fill ups at the local Chevron station!). Our
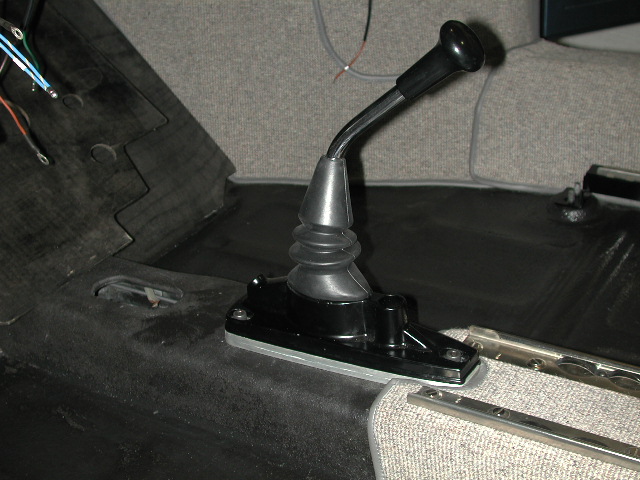
356B/C shifter/coupler modification features a shorter lever, 40%
reduction in shift travel and a much more precise shifter feel.
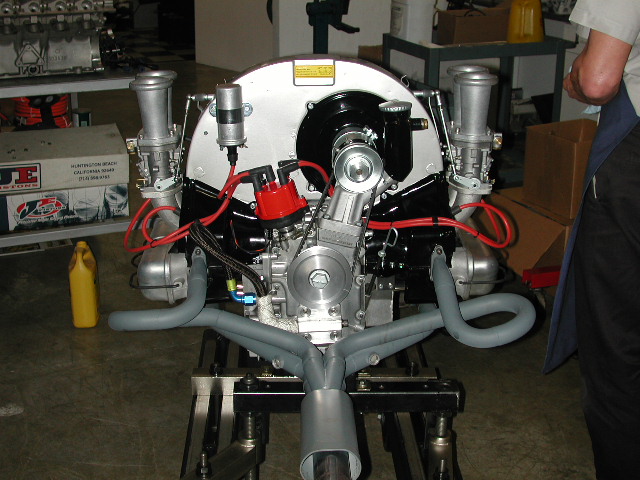
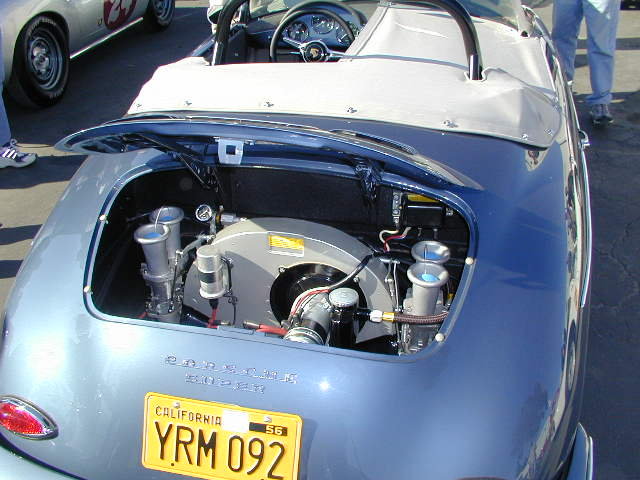
ENGINE
The goal for Keith's Roadster GT is an engine that is streetable but definitely usable for occasional autocrossing or street racing. The emphasis is on a solid mid range torque curve rather than maximum possible horsepower.
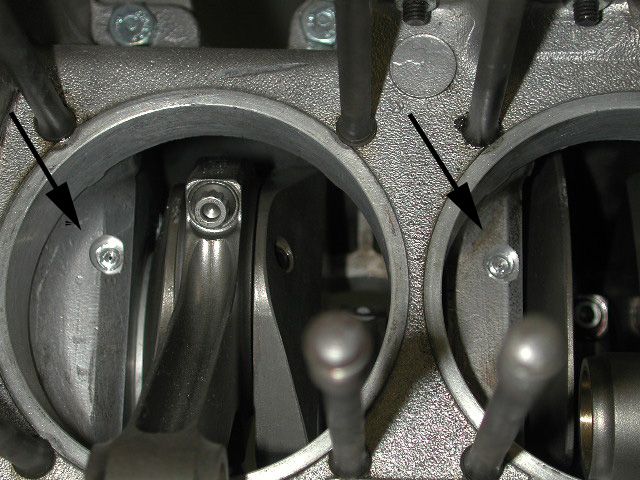
Late 356 case modified with
piston oil squirters and full-flow oil filter./coolers
Scat Superlite crankshaft
Carrillo rods
290 degree autocross cam
10.5 lb. flywheel
Late 356 heads with 42mm intakes/34mm exhaust and modified chambers
Dual valve springs with titanium retainers
Special 86.5mm /10:1cr JE pistons with dome matched to chambers
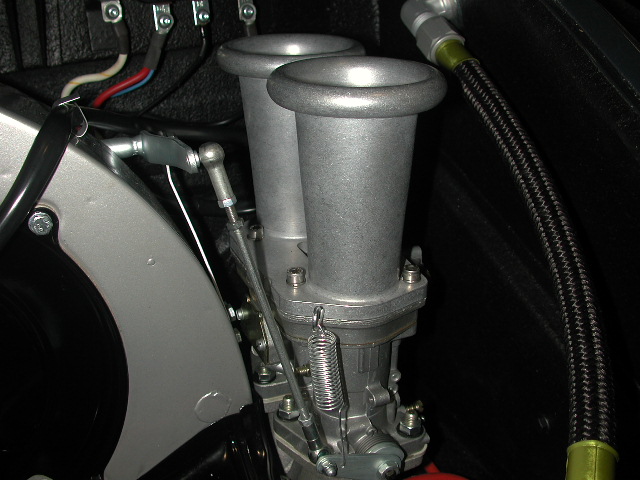
Weber 44IDF carbs
MSD billet distributor with adjustable max. advance and advance curve combined
with an MSD control unit with soft touch rev. limiter mounted under the pas.
footwell.

(more photos will follow
soon)

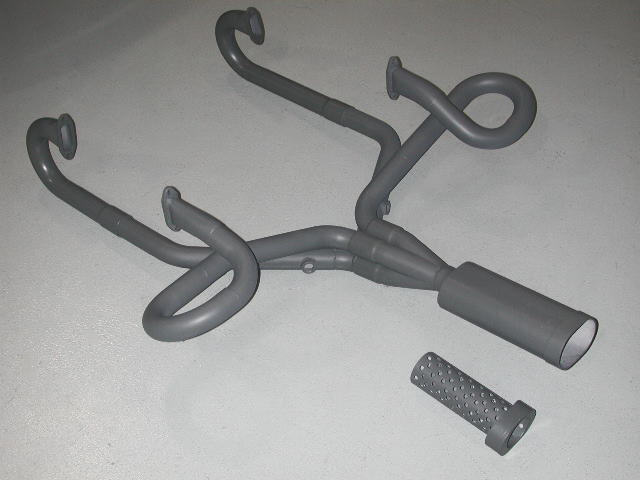
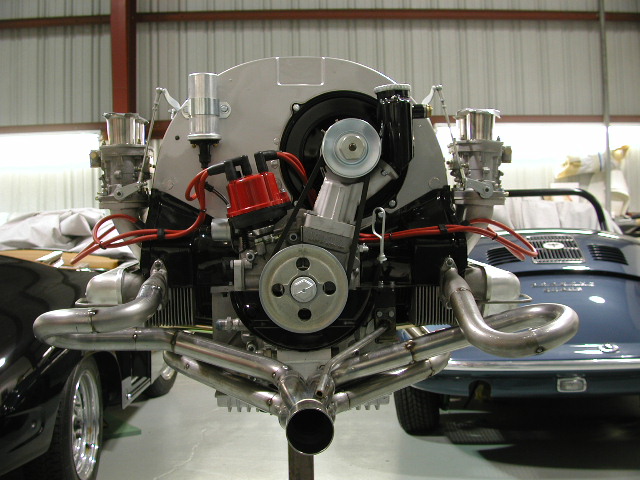 The (almost) finished engine with
WAR 4:1 headers fitted prior to welding. Ours is a true equal length header
computer tuned to the torque curve of the engine. After fabrication of the
stinger/resonator we'll be off to
Carobu
Engineering
in Costa Mesa, CA
for dyno break-in and tuning of the engine.
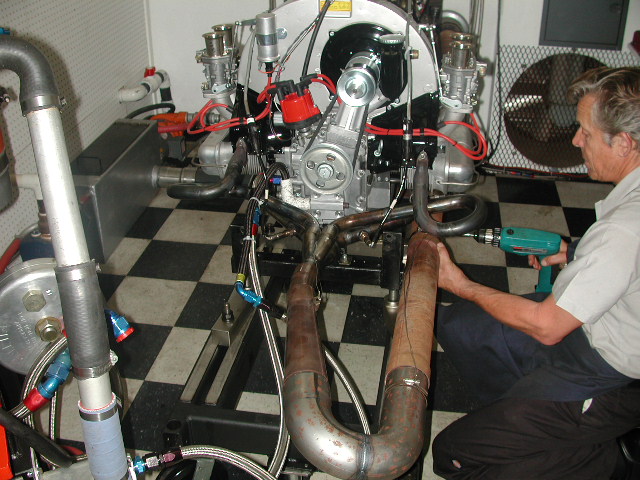
The (almost) finished engine with
WAR 4:1 headers fitted prior to welding. Ours is a true equal length header
computer tuned to the torque curve of the engine. After fabrication of the
stinger/resonator we'll be off to
Carobu
Engineering
in Costa Mesa, CA
for dyno break-in and tuning of the engine.
Carobu has the latest DTS4000 dyno. When reading the output, keep in mind that the design of the DTS dyno results in readings approximately 5% below those of a Superflow. The purpose of dyno testing is primarily the optimization of horsepower and torque rather than determining the exact output of a specific engine and comparing it to the results on other dynos.
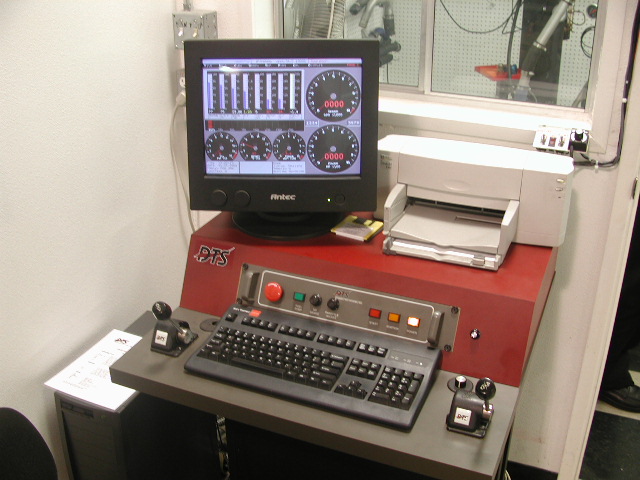
 click the "dyno charts"
link below to view the results
click the "dyno charts"
link below to view the results
The engine performed better than
expected! The goal was a streetable engine with a broad torque curve and maximum
horsepower around 6500 RPM. As you can see from the
dyno
charts
that goal was
achieved. We did a back to back comparison of the WAR 4:1 Header to the Bursch
Header and the NLA Twin Pipe Sport Muffler. The results speak for themselves.
Computer tuning of the equal length system resulted in impressive horsepower and
torque output with no dips or spikes like the Bursch and NLA Twin Pipe Sport
Muffler. Also interesting were the timing advance results. Settings from 34 to
38 degrees were tried and the best output was achieved at 36 degrees with no
detonation. Actually no detonation was experienced even up to 38 degrees. All
testing was done on Union 76 Premium fuel with no booster or additives used.
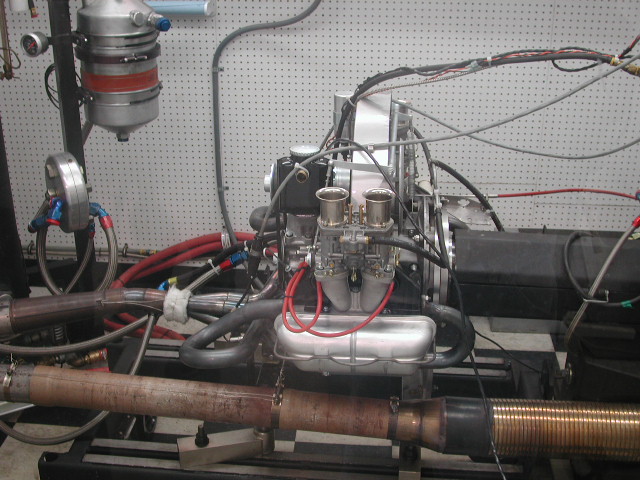
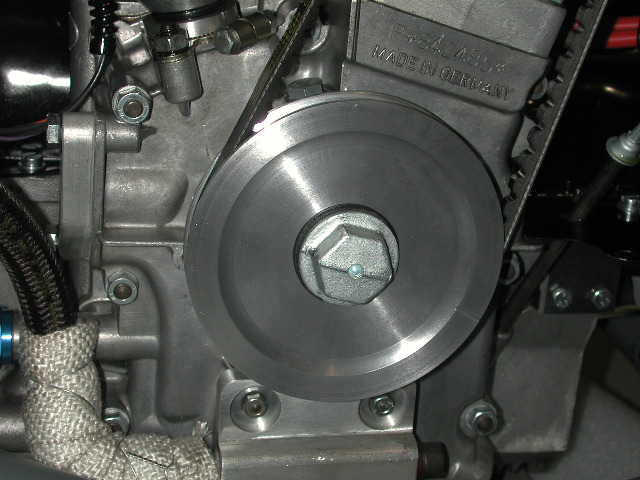
Final testing was done with the addition of our own air horns for the Weber 44IDF and a specially made 5.25 inch pulley which reduces the fan speed by 10% to match the better cooling obtained with the modified engine sheetmetal and deletion of the heater boxes. The length of the air horns compliments the tuned length of the exhaust and results in an even better torque curve and 10 more horsepower (see dyno charts comparisons). All parts will be available after testing is completed. Look for the "New Products" section of the website for details.
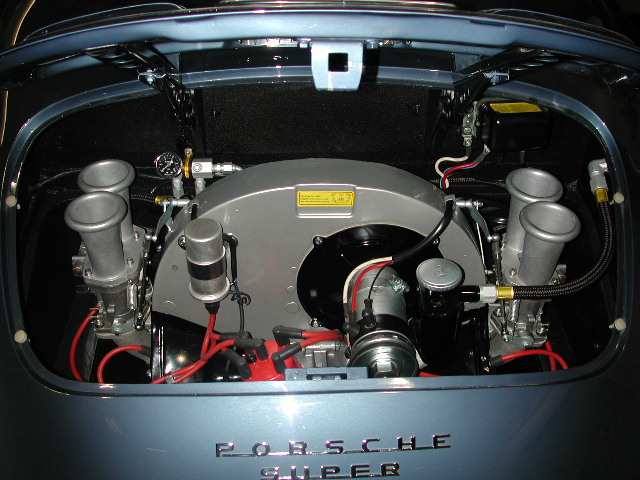
ALMOST FINISHED


Above you can see the aluminum
tie rod kit and oil breather kit , the later with a specially modified, low
profile oil filler.
Keith's Roadster has now been converted to our newest 1925cc twin-plug engine. Pictures available soon.